Start at the actual exit
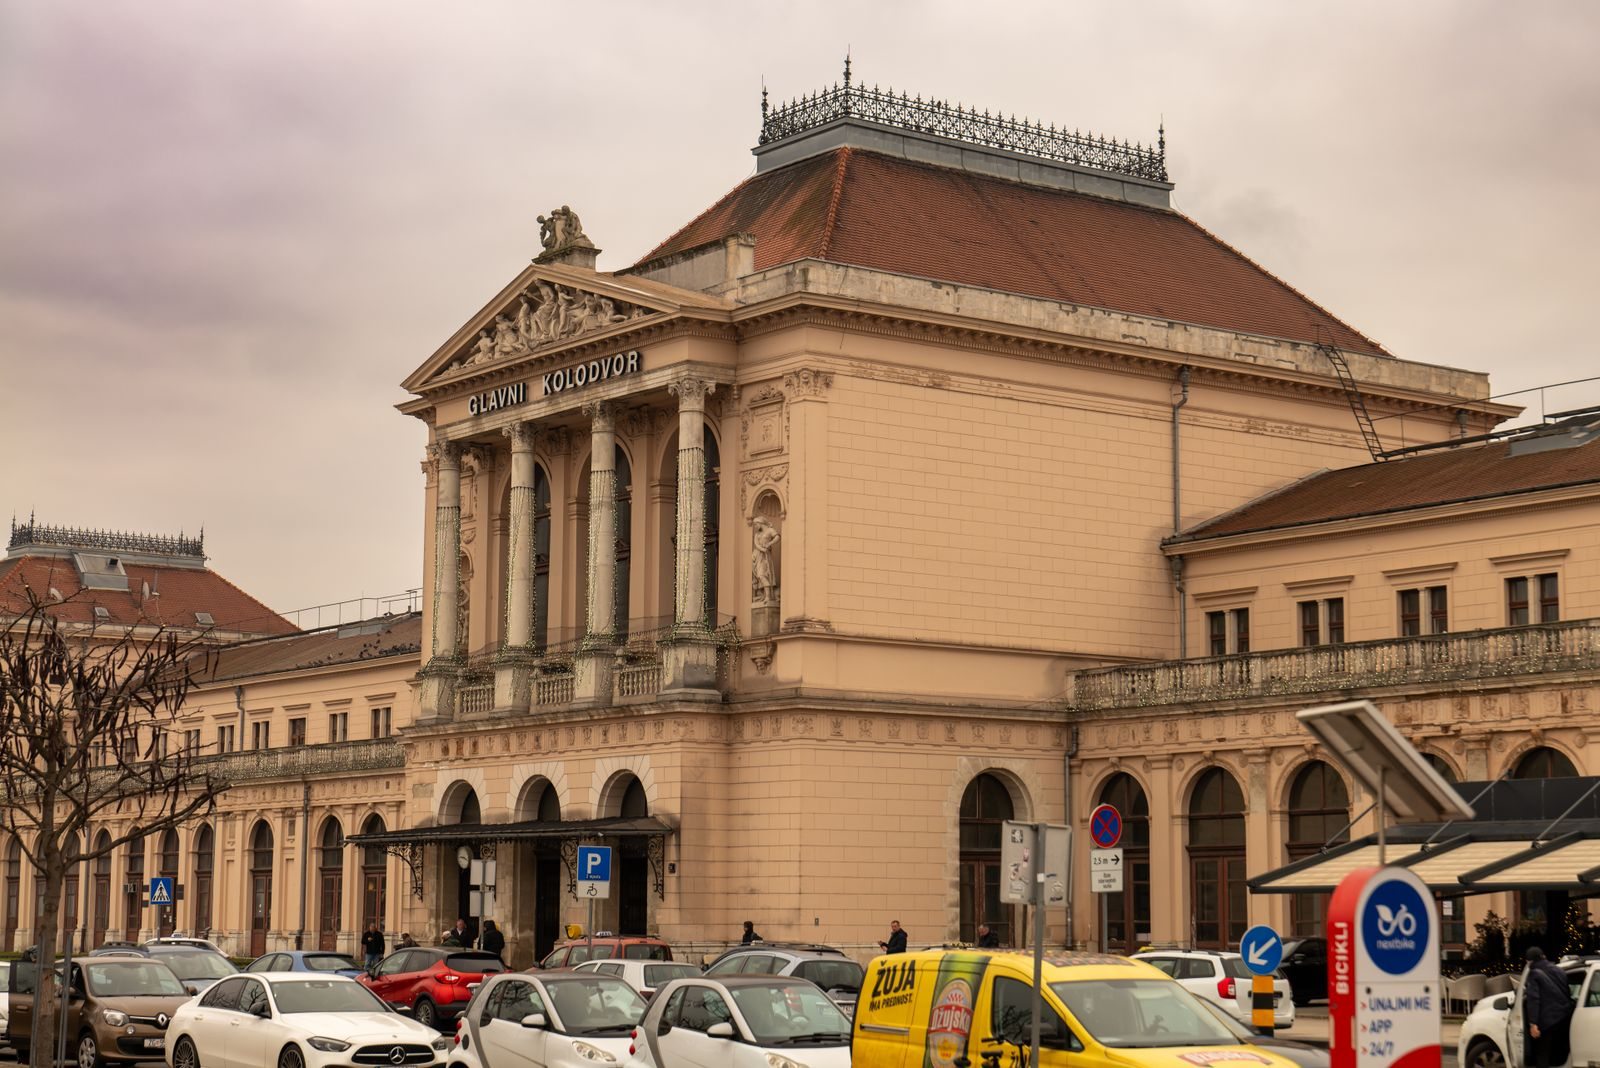
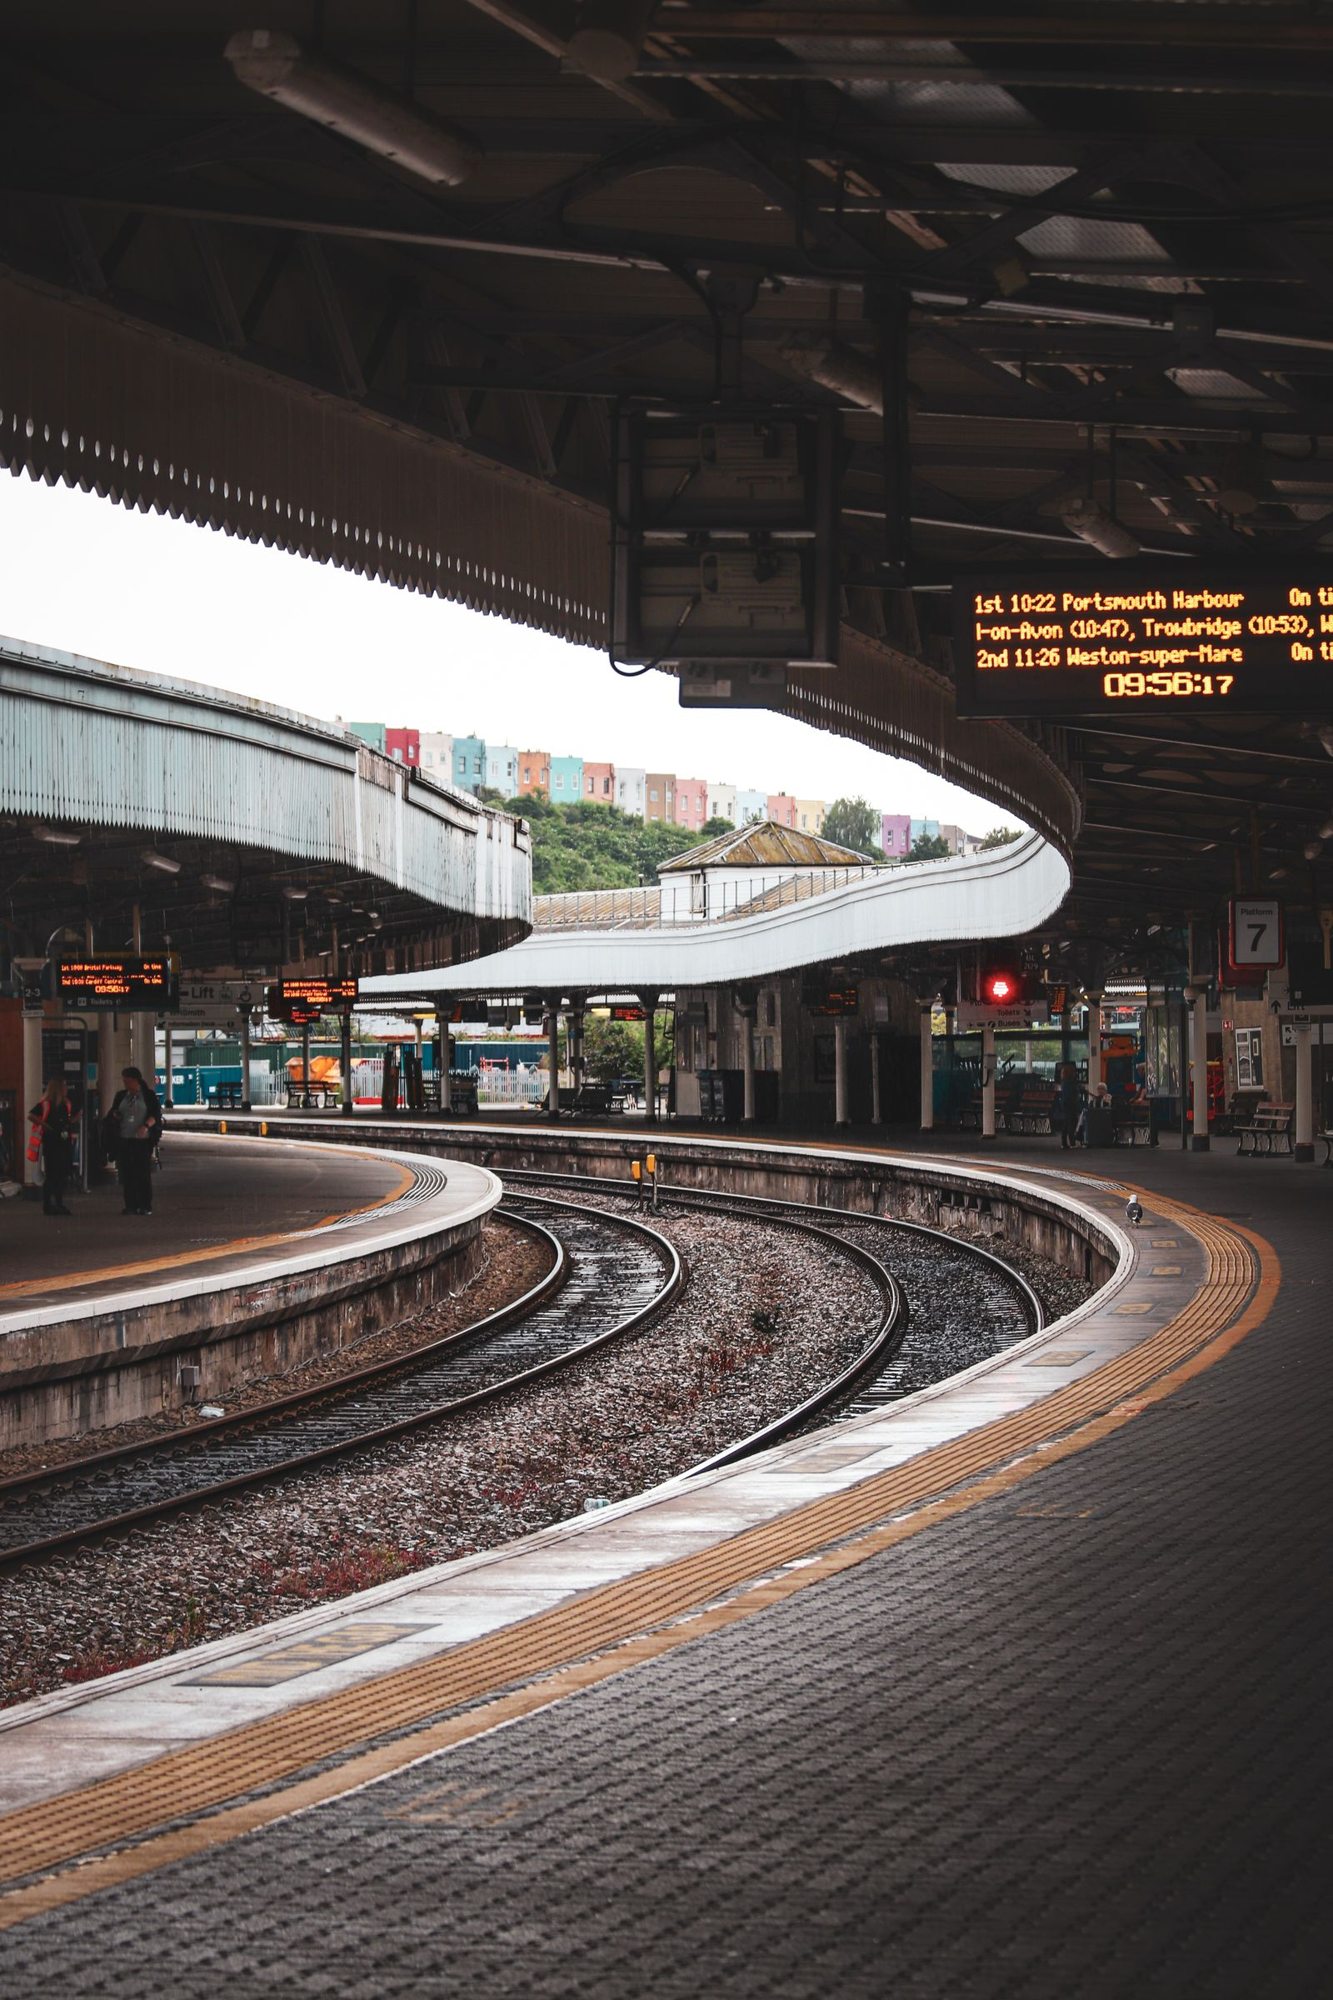
A route to the station often ends before the orientation work does. Check which exit leads towards the venue and how to reach it from your arriving platform. Large stations may have several levels and widely separated exits. Choosing the wrong one can create an unnecessary detour when carrying luggage.
Note a recognisable first point outside, such as a named square or an unmistakable junction. Avoid directions like ‘left after the station’ when the viewing direction is unclear. A saved map with the exit marked is often more useful than several spoken instructions that depend on where someone is facing.
Assess the whole walking route
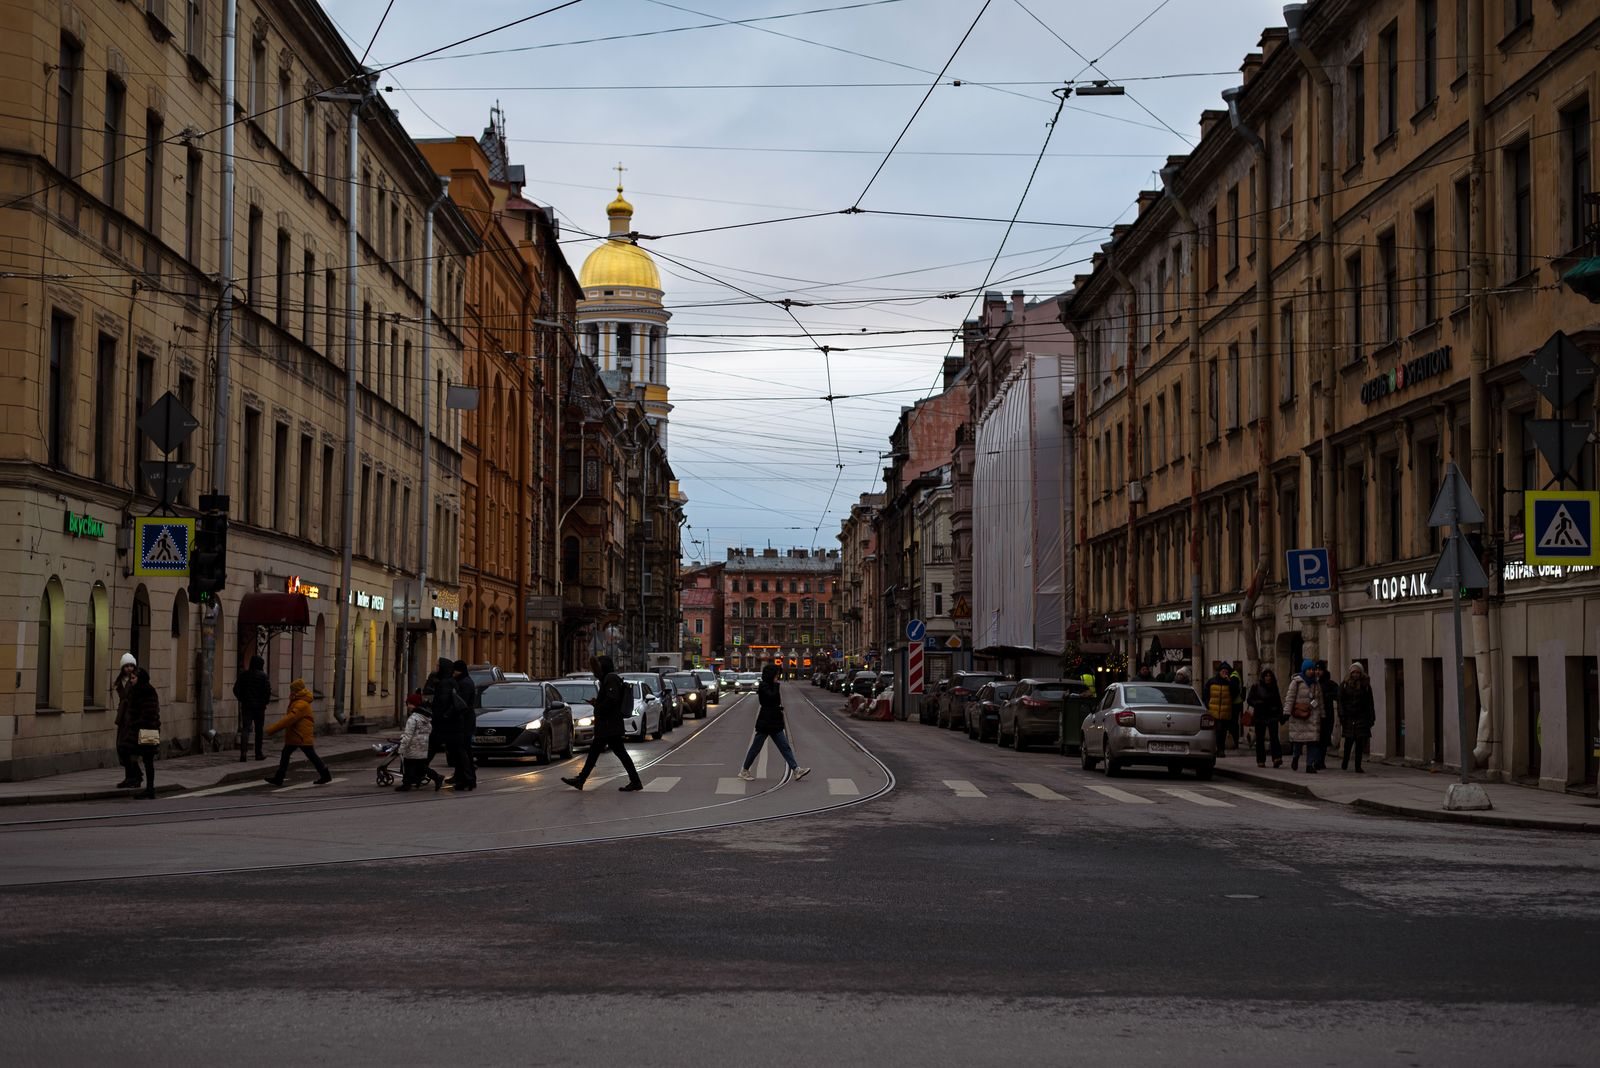
Look at crossings, major roads and possible obstacles. A short straight-line distance does not tell you where a safe, accessible crossing exists. Check official information about construction and access, especially if you need a step-free route. A general map symbol does not confirm the current condition of a lift.
Consider what you are carrying and how the weather affects the walk. A narrow pavement feels different with a bulky sample than with a light bag. Do not allow so little time that each traffic signal or short orientation pause becomes a problem for the appointment.
Continue to the agreed meeting point
Reaching the grounds may still leave admission, a cloakroom and a walk through several halls. Save the event map showing the entrance, hall and stand number. Agree whether you are meeting outside, beyond the entry check or directly at the stand. Those locations are not interchangeable.
Keep a simple return direction available. After a long day, the same route can seem less familiar in reverse. Check current notices before setting off and change course when you encounter closures rather than following a saved line blindly. Preparation should make orientation easier without replacing your judgement about the situation on the ground.